
Board Game Miniatures: Materials, Moulds
 By Hersh Glueck
Board game miniatures are small plastic figures, usually 28 to 70 mm tall, made by injection moulding: melted plastic is pressed into a steel mould of the figure. They are the most detailed pieces in a game and the most expensive to start, because every sculpt needs its own mould. This guide covers the plastics they are made of, how the mould is built and what each part of it costs, what sets the price per piece, how colour is added, and when 3D printing is the better choice. How to design a miniature so a mould can make it is in our guide to STL vs STEP.
What Plastic Miniatures Are Made Of
Most plastic miniatures are made of ABS or PVC. The two feel and hold detail in a similar way, but each is better at different things. Six qualities decide which plastic suits a piece:
- Detail fidelity: how much fine detail the plastic keeps, and how sharp it is.
- Flex: how far it bends and springs back without damage.
- Toughness: how well it resists cracking or snapping when dropped or stressed.
- Dimensional stability: how well it keeps its shape over time and use.
- Surface finish: how smooth it looks, and how well it takes paint.
- Rigidity: how solid it feels in the hand, and how little it bends in normal use.
The table rates eight plastics on these six qualities, from 1 to 5. Higher is better.
| Plastic | Detail | Flex | Toughness | Stability | Finish | Rigidity |
|---|---|---|---|---|---|---|
| ABS | 4 | 3 | 4 | 4 | 4 | 4 |
| PVC | 4 | 4 | 3 | 4 | 4 | 4 |
| PS | 5 | 1 | 2 | 4 | 5 | 5 |
| PP | 2 | 5 | 4 | 2 | 2 | 2 |
| Nylon (PA) | 3 | 3 | 5 | 2 | 3 | 4 |
| TPE / TPU | 3 | 5 | 4 | 3 | 3 | 1 |
| PC | 4 | 3 | 5 | 4 | 4 | 4 |
| PET / PETG | 4 | 3 | 4 | 4 | 4 | 4 |
What each plastic is best for:
- ABS (acrylonitrile butadiene styrene): the all-rounder, tough and rigid with sharp detail. Player miniatures and functional parts.
- PVC (polyvinyl chloride): made firm or soft as needed, forgiving of small overhangs. Mixed into ABS for flex.
- PS (polystyrene): the finest detail, but stiff and brittle. Display pieces, not pieces handled every turn.
- PP (polypropylene): light and bendy, takes clips and hinges. Small practical pieces, trays and inserts.
- Nylon (polyamide): very tough and wear-resistant. Structural parts, fasteners, rigid bases.
- TPE / TPU (thermoplastic elastomer and polyurethane): soft and rubbery. Squeezable, grippy parts.
- PC (polycarbonate): very strong and can be clear. Sturdy parts and transparent containers.
- PET / PETG (polyethylene terephthalate): stiff and clean, opaque to clear. Another all-rounder for minis and parts.
ABS vs PVC
ABS is the tough, sharp, smooth choice; PVC is the flexible, forgiving and cheaper one. ABS excels at toughness, rigidity and crisp detail, with a clean surface that takes paint and printing very well. It suits relatively simple parts and pieces that are handled a lot, but it tolerates undercuts poorly, so parts must be designed to avoid them. PVC can be mixed to be anything from firm to soft and almost rubbery, so it copes with small undercuts (overhangs that catch in the mould). The more complex the miniature, the softer the PVC that is used.
In practice we often mix PVC into ABS, to give a piece some elasticity so thin parts bend instead of breaking. We do not make a very thin piece from PVC alone. TPR (thermoplastic rubber) can be mixed in instead of PVC: it is the more eco-friendly choice, but the mix costs about double the PVC mix. Resin is not used for mass-produced miniatures: it dries very hard, breaks where it is thinner than 3 mm, and is cast by hand, so the pieces are less consistent.
How Miniatures Are Made
Injection moulding has five steps. Plastic pellets are heated in a hopper until they melt. The melted plastic is pushed under high pressure through channels called sprues and runners into the cavities of the mould. A cooling system sets it quickly. The mould opens. The pieces are pushed out, still joined to the runner, and later cut free.
That last step, ejection, matters for the price. A well-designed simple piece drops out of the mould automatically, with no hand work. A detailed miniature with undercuts, deep texture or thin, fragile parts usually has to be taken out by a worker, one shot at a time, which adds labour to every piece. For large runs, automatic ejection keeps labour costs down; for small runs of detailed player miniatures, manual ejection is often acceptable. The design rules that make automatic ejection possible are in STL vs STEP.
The Mould: Frame, Cavities and Assembly
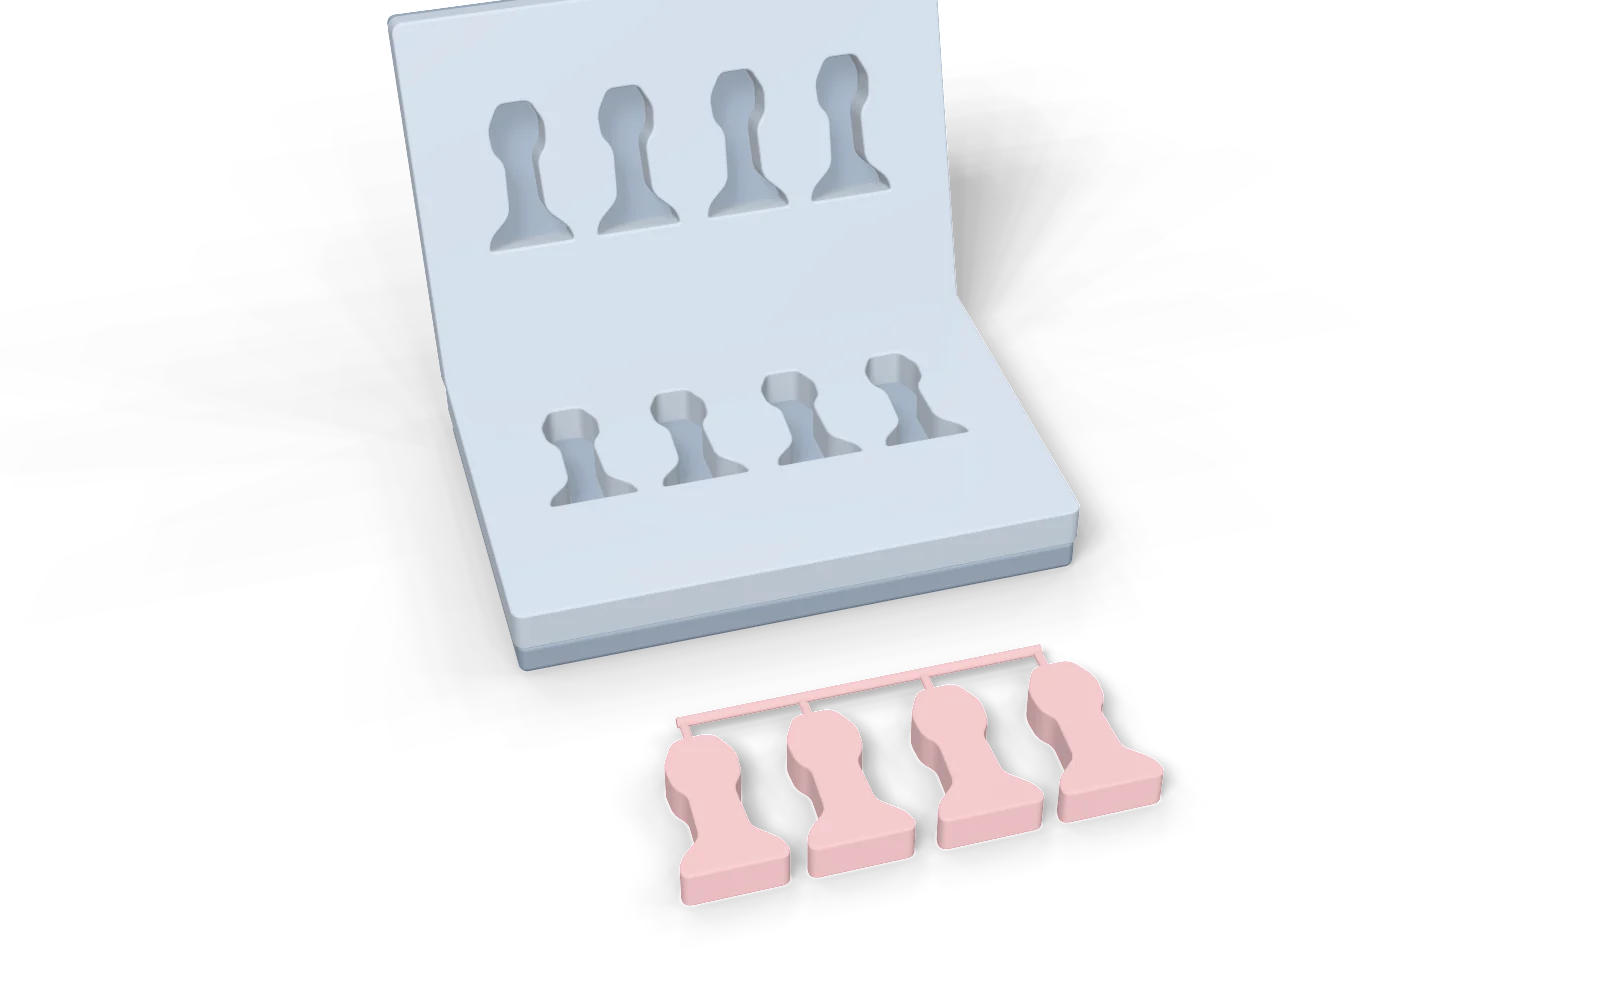
A mould is three costs: the frame, the cavities, and the assembly that puts them together. The frame is the steel structure that the injection machine holds; it costs about 2,000 USD and can be reused with different cavities. The cavities are the hollow shapes of the pieces, set into the frame. Each cavity costs about 500 to 1,200 USD, depending on how complex the piece is. Then the mould assembly fits the cavities into the frame and tests the first shots. A frame usually holds 4 to 8 cavities, fewer for intricate pieces, because plastic must flow into every corner. We aim for no more than about 50 grams of plastic per shot.
So a detailed miniature mould usually costs about 3,200 to 7,000 USD in total, depending on the number of cavities, their complexity and the finish. A small, simple mould for abstract pieces starts at about 1,500 USD.
CNC Cavities vs Cast Cavities
A cavity is made in one of two ways, and the choice follows the file you send.
- CNC-cut cavity: a computer-controlled (CNC) machine carves the shape straight into the steel, following the vector lines of a STEP or CAD file. It is precise and faster, about 40 days to make and test, but it struggles with the finest organic detail, such as strands of hair. It suits simpler and functional pieces.
- Cast cavity: the figure is 3D printed as a model, a clay shape is cast from it, and the steel cavity is formed around that shape and then sanded by hand. It works from an STL file. It is cheaper, but it takes longer, about 60 days, and it is less exact, because hand work is involved. It suits sculpted miniatures, where organic detail matters more than exact dimensions.
What Sets the Price per Piece
After the mould is paid for, a piece is priced by its weight in plastic. Plastic weighs about 1 gram per cubic centimetre, so the volume of the piece gives its weight. Simple pieces cost about 0.008 to 0.012 USD per gram, falling to about 0.005 USD on very large runs. Detailed miniatures cost about 0.012 to 0.05 USD per gram, because they stay in the mould longer and often come out by hand. Five things move the injection molding cost of a piece up or down:
- Material cost: the price of the raw plastic.
- Cycle time: how long one shot takes to inject, cool and eject. Some plastics melt hotter or cool slower.
- Scrap rate: how many pieces are rejected for breaks, warping, sink marks or burns, and must be made again. The design affects this as much as the plastic.
- Wall thickness: stronger plastics allow thinner walls, which use less plastic and cool faster.
- Flow: a plastic that flows easily fills more cavities per shot, which cuts production time a lot.
The second table rates the same eight plastics on these five costs, from 1 to 5. Higher means cheaper or faster.
| Plastic | Material cost | Cycle time | Scrap rate | Wall thickness | Flow |
|---|---|---|---|---|---|
| ABS | 2 | 2 | 2 | 2 | 2 |
| PVC | 2 | 2 | 2 | 2 | 2 |
| PS | 3 | 3 | 2 | 3 | 3 |
| PP | 3 | 3 | 2 | 2 | 3 |
| Nylon (PA) | 1 | 2 | 1 | 3 | 2 |
| TPE / TPU | 1 | 1 | 1 | 1 | 1 |
| PC | 1 | 1 | 2 | 2 | 1 |
| PET / PETG | 2 | 2 | 2 | 2 | 2 |
In short: PS and PP cost least overall; ABS, PETG and PVC are balanced and predictable; PC and nylon are high-performance and high-cost; TPE and TPU cost the most. Two more costs come on top. A miniature cut into parts must be glued together by hand, about 0.015 to 0.04 USD per glued part, smaller parts costing more. And the parts need keys and the right clearance so they fit without gaps.
More Pieces per Shot: Cavities and Colours
A multi-cavity mould makes several pieces in one shot, which lowers the cost of each. The factory decides the final layout, but you can help it fit more cavities. Keep pieces small, choose a plastic that flows well, and limit your colours. Each injection run makes one colour, so pieces in different colours need separate runs, and often separate moulds. Pieces that share a colour can share a mould. Any Pantone colour can be matched by mixing colour powder into the plastic before it is injected.
Colour After Moulding
Colour can also be added after moulding, and the more hand work a method needs, the more it costs:
| Method | Setup | Per piece |
|---|---|---|
| Spray paint | 250 USD | about 0.02 USD per cm³ of plastic |
| Pad print | 100 USD mould | about 0.008 USD a stamp per colour |
| Silk screen print | 100 USD mould | about 0.008 USD a stamp per colour |
| Heat stamp | about 70 USD per colour | about 0.01 to 0.05 USD |
| UV print | none | for very small quantities |
| Water printing | by quote | for complex patterns |
| Hand painting | none | by the labour hour (the most) |
3D Printing vs Injection Moulding
3D printing is cheaper for small numbers; injection moulding is cheaper at scale. A mould is expensive and hard to change, but each moulded piece is cheap. A 3D printed piece needs no mould, but it is slow and needs hand work, so it stays expensive. Our resin 3D printing costs about 0.12 to 0.40 USD per gram, depending on quantity, and it is ideal for small runs and for many different designs. Standard resin is brittle, though tougher and flexible resins exist, so resin prints suit very small runs of about 100 to 500 games.
A rule of thumb finds the break-even point. Moulding costs about 0.08 RMB per gram and 3D printing about 0.6 RMB, so moulding saves about 0.52 RMB on every gram. Divide the mould cost by the saving per piece: a 50 g piece saves 26 RMB, so a 13,000 RMB mould pays for itself at 500 pieces. Heavy pieces reach break-even sooner; light pieces need more copies.
Prototypes: SLA vs FDM
Before the mould is made, miniatures and parts are 3D printed to check the detail, the fit and the balance. There are two common methods, and SLA vs FDM is a choice between looks and speed.
- FDM (fused deposition modelling) melts plastic filament and builds the piece layer by layer through a nozzle. It is fast, cheap and easy, but the layer lines show and the surface is rough. Use it for mechanical and functional parts, where detail matters less early on.
- SLA (stereolithography) cures liquid resin with UV light, one thin layer at a time, and each piece is then cleaned by hand. It is slower and messier, and the resin needs protective equipment. But the layer lines are so fine they are almost invisible, and the result looks like a moulded piece. Use it for player miniatures and display pieces, to judge the detail at real size.
PVC Miniatures, Moulds and Who to Ask
PVC miniatures, ABS miniatures and mixed ones are all made the same way; the plastic is chosen per piece, for detail, flex and price. The cheapest miniature is the one designed for the mould from the start, by a 3D designer who talks to the factory. Our guide to STL vs STEP covers the design rules, and board game artist covers briefing the sculptor. For a plastic run of your own, see our plastic toy manufacturer page, or contact us.
Frequently Asked Questions
What are board game miniatures made of?
How much does a miniature mould cost?
How much does each plastic miniature cost?
Is 3D printing cheaper than injection moulding for miniatures?
What is the difference between SLA and FDM printing?
Talk to Our Team About Creating Your Board Game
From design to manufacturing, we can help you with every aspect of turning your game concept into reality.