
Board Game Insert Design: The Rules
 By Hersh Glueck
Board game insert design starts with the final component list and ends with a tray that players can use on the table. A good insert holds every piece still in transit, makes the box look finished when it opens, and cuts setup time. A poor one lets the pieces pile up, frustrates players and gets thrown away. This guide walks through the design in order: the component list, the purpose, the player experience, the rules the factory needs, and the common mistakes. If you would rather hand it over, send us the component list and the box size: custom board game inserts are designed by our team as part of the quote.
Start With Your Game's Components
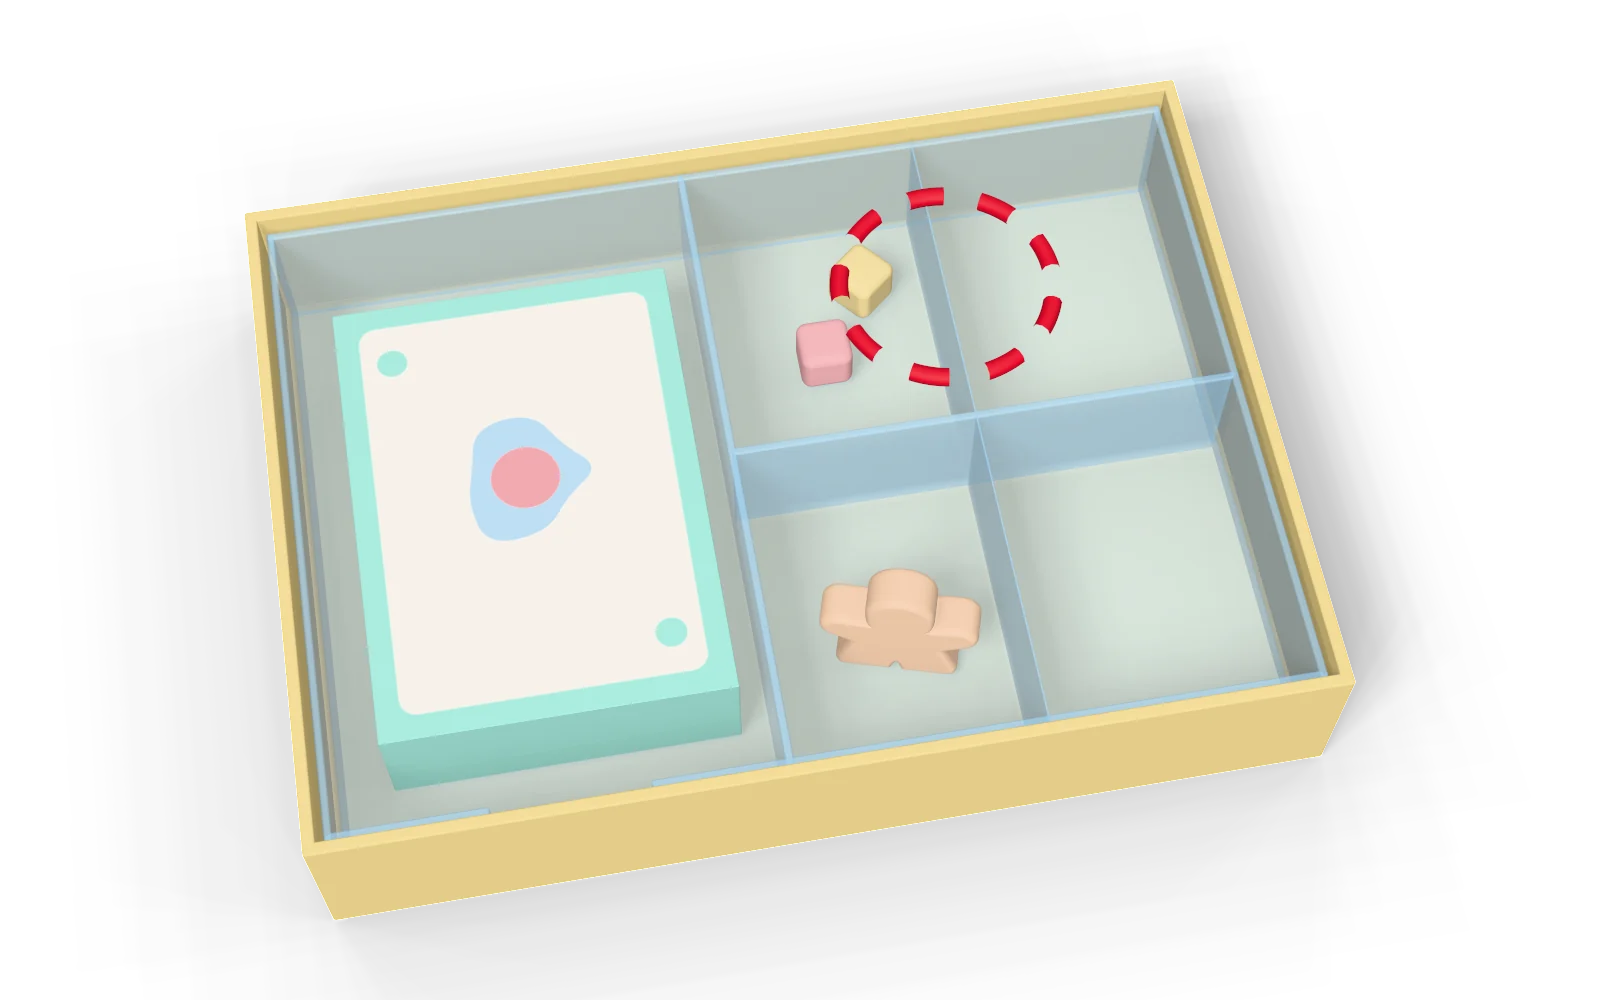
The first step of any board game insert layout is a complete list of what the insert must hold. Every card, token, die, miniature and board, with its size, its count and how fragile it is. A deck of cards needs a snug well so it does not bend. A miniature needs a slot that stops it rubbing against its neighbour. If you are still choosing tokens, cards or dice, wait: an insert designed around a draft list will not fit the final game. Our choosing components resources help you settle the list, and the overview of board game inserts explains the four materials.
Define Your Insert's Purpose
An insert does two jobs. For you, the publisher, it protects the pieces in transit and in storage, when the box stands upright on a shelf. For the player, it keeps the pieces sorted so nothing is lost and setup is quick. Write both jobs down before you draw anything, and add the budget: a paper or corrugated cardboard insert costs little, a plastic insert needs a mould. Deciding the material early saves a redesign later.
Plan Around Your Player Experience
The best inserts are part of the game. Ask four questions. Can the insert come out of the box and sit on the table as the bank of tokens? Can a player reach every piece without tipping the box or lifting a layer? Can a player tell the slots apart in a second? Is it simple enough for the youngest player the game is made for? A family game needs a tray a child can use; an expert game can have more layers.
Rules the Factory Needs
- Design from the final list. Our designers lay out a plastic insert from the final component list, so every piece has a slot that fits. The mould is made to that layout, and a change afterwards means a new mould.
- Count the cavities. Up to three or four slots works in corrugated cardboard; more than three slots on a corrugated insert costs a setup fee. More than four cavities, and the insert should be plastic.
- No narrow, deep slots, and angled walls. A plastic insert is a stretched sheet, so a slot that is too narrow or too deep tears, and a thin wall between two slots must lean slightly so it does not break.
- 8 mm each side. A plastic insert needs about 8 mm on each side of the pieces it holds, so size the box for the insert, not just for the pieces.
- Finger slots. Put a notch in the wall of every card well so the deck lifts out. Free on plastic and corrugated inserts; not on paper.
- Room for card sleeves. If players may sleeve the cards, add 4 mm to the width and the length of the card slot, and add the sleeves to the depth: each sleeve is 0.15 to 0.3 mm thick, so a 100-card deck needs 15 to 30 mm more.
- Room for expansions. A spare slot or a modular section lets an expansion live in the base box, which players value.
- Files. If you design the plastic insert yourself, we need a CAD file and an STP (STEP) file for the mould. A sketch with sizes is enough for us to design it for you.
What to Keep in Mind When Designing Your Insert
- Precision. Too loose and the pieces rattle and get damaged. Too tight and players force the cards out. Aim for a snug slot with a finger slot.
- Manufacturing. The cleverest layout is not the best if it costs a complex mould or is hard to fold. Our guide to the plastic insert has the design limits and the costs.
- Presentation. The insert is part of the packaging. A clean tray that matches the game's look makes the unboxing memorable.
Common Mistakes to Avoid When Designing Inserts
We have helped hundreds of creators with their inserts, and the same mistakes come up. Avoid these and you are most of the way there:
- Designing the insert too early. Finalise every token, card, board and the box first. Change a component later and the pieces no longer fit, or overflow the tray.
- An overly tight fit. Cards and miniatures should sit snugly and lift out without force.
- Too much empty space. Pieces that slide around are not protected, and the open box looks sloppy. Use a filler or a smaller box.
- No room for card sleeves. For a hobby game, plan the 4 mm and the sleeve thickness from the start.
- Too many cavities in cardboard. A cardboard tray with many slots is hard to fold and awkward to use; above four cavities, choose plastic.
- Not keeping it simple. The insert exists to protect the pieces and make sorting easy. If it needs an explanation, it is too complicated.
The Bottom Line on Designing a Great Game Insert
A well-designed insert protects the components, speeds up setup, organises play and adds to the value of the game. Start from the final component list, define what the insert must do, design around the players, and follow the factory's rules on cavities, walls, finger slots and sleeves. When the list is final, send it to us: a board game manufacturer designs the insert as part of the quote.
Frequently Asked Questions
When should I design my board game insert?
Do I need to design the insert myself?
Should the insert leave room for card sleeves?
Talk to Our Team About Creating Your Board Game
From design to manufacturing, we can help you with every aspect of turning your game concept into reality.